Tutorial Tuesday: How to Style Your Passionfruit Ads Widget to Match Your Blog

October 23, 2012 // 6 comments


I had planned to make Tutorial Tuesday a weekly feature but I became brain-dead on what to create a tutorial about that you can't already find on 300 other blogs. BUT that's okay, because I have a good one for ya today!

First, I want to say that I LOVE LOVE LOVE Passionfruit Ads. If you have lived under a rock the last few months and haven't heard about it, please check them out! If you are a Blogger who accepts sponsors, it's invaluable, really. Once of my favorite things to do is peruse the Passionfruit Directory to find new blogs to read, follow, and sponsor. I've found a lot of great blogs on there that I may not have come across as soon otherwise. Jason: you rock!

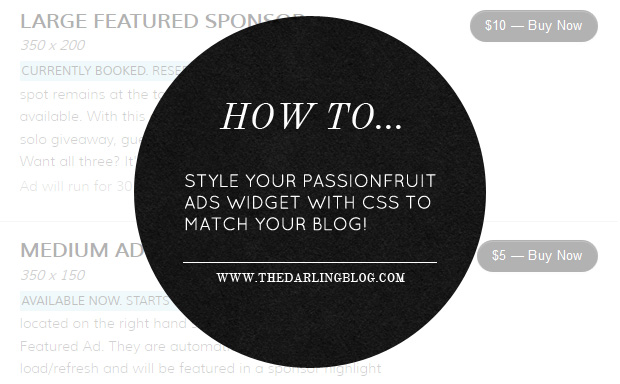
Anyway. While I LOVE Passionfruit, it slightly bothered me that there wasn't an option to change the colors of the widget that displays the purchase button and things. Being the designer that I am, I like to have things match, you know. Yesterday, I started to really think about it and used the handy-dandy Firebug plugin to find the classes used in the widget and voila! It worked like a charm. As you can see on my Sponsor page, it now looks like the image above.
To style your own, just copy and paste the classes below into your CSS. If you don't want to change something, just delete that line. Let me know if you have any questions! The CSS below is just a sample... you can, of course, change the color and size, add a background color, padding, etc. Just don't remove the !important tag or it may not work. You want your custom CSS to override the CSS that Passionfruit pulls in automatically and that's what !important is for.

/**** SPONSOR SPOT TITLE ****/
.pf_juice ul.spot-list li .spot-details .spot-name {
font-size: 14px !important:
color: #000000 !important;
}

/**** BUY NOW BUTTON ****/
 .pf_juice a.spot-buy {
background-color: #000000 !important;
}

/**** AVAILABLE SPOTS TEXT ****/
.pf_juice ul.spot-list li .spot-details .spot-openings
{
font-size: 14px !important;
color: #000000 !important;
}

This is just a basic overview that should give you a pretty good idea of how you can style it to match your blog a bit better. If you have Firefox, download the Firebug plugin to find the classes on other parts of the widget as well. You can go into as much or as little detail as you want! I didn't want to change the look up too much, but the hot pink buttons against my gray and light blue design were killing me, haha. :)

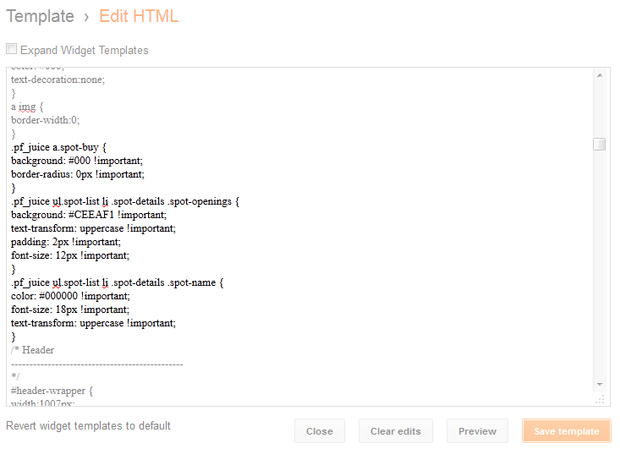
Just for reference, here's what my CSS looks like:
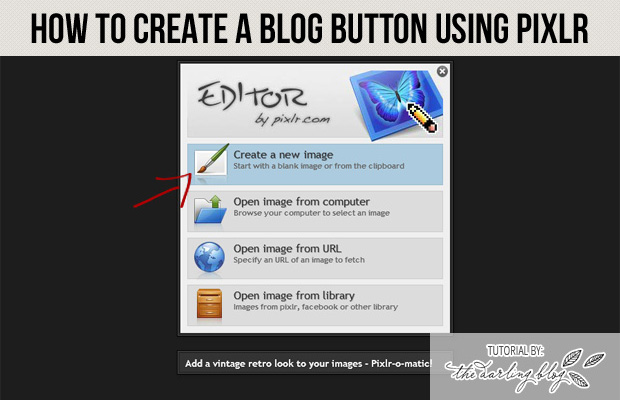
Tutorial Tuesday: How to Create a Blog Button using Pixlr

September 18, 2012 // 8 comments


I've decided to start a new weekly series called "Tutorial Tuesday" where I, obviously, post tutorials on stuff. It may be digital or design related, it may be crafty, it may be easy and it may be a little bit more difficult... who knows what each week will bring! It will run until I run out of ideas or things to teach so if you have any requests, please feel free to leave them in the comments!

To start off the series I'm going to teach you how to design your own blog button using the awesome online photo editor called Pixlr. This tutorial is for people who have little to no experience with graphic programs. It's almost identical to Photoshop Elements and pretty darn close to Photoshop as well. Best of all, it's free, so it's accessible to anyone. There are several Photoshop-like features it's missing but for the average user who isn't a graphic designer it should be all you need. So, let's begin!


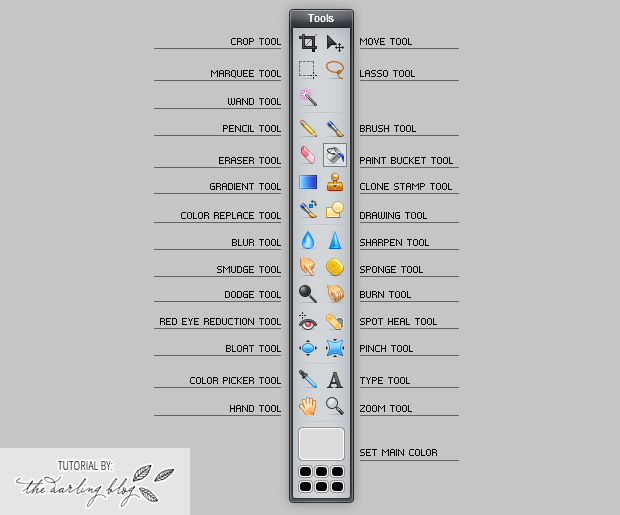
For Step 1, we're going to get familiar with the toolbar. If you're used to Photoshop or Photoshop Elements you can probably skip this step. If you're not, review the image above. For this tutorial, we will be using the Type Tool, Move Tool, Paint Bucket Tool, and Set Main Color. Of course, you can get as creative as you want with your own button but I'm just going to teach you the basics to get you started.


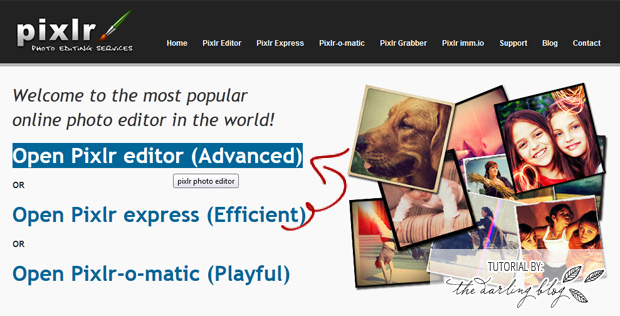
Now that you've familiarized yourself with the Pixlr toolbar, let's get started. Go to pixrl.com and select Open Pixlr editor (Advanced) (<-- or click that link).


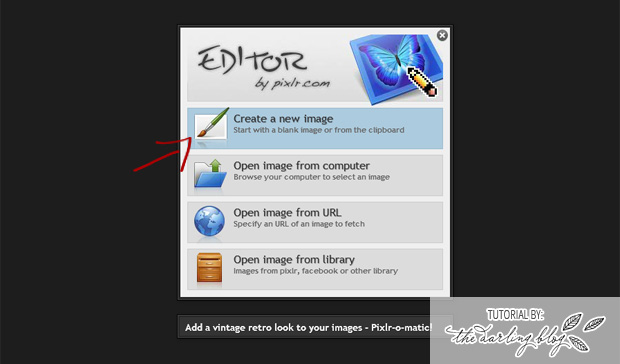
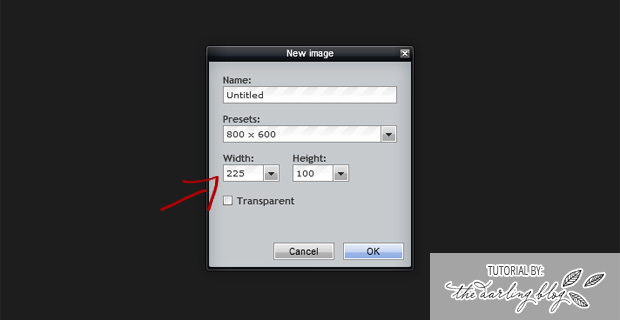
Now, we're going to select Create a New Image to start with a blank canvas. In Step 4 we'll choose the size.


You can choose from a preset size under Presets or you can choose your own size like I did. My sponsor swap button sizes are 225x100 so that's the size I chose. If you'd like to create a button to add to my sidebar, choose this size! Or, pick your own size for your own needs. After you type in both the width and height numbers, click OK.


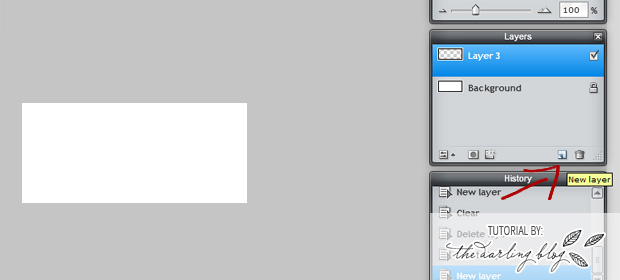
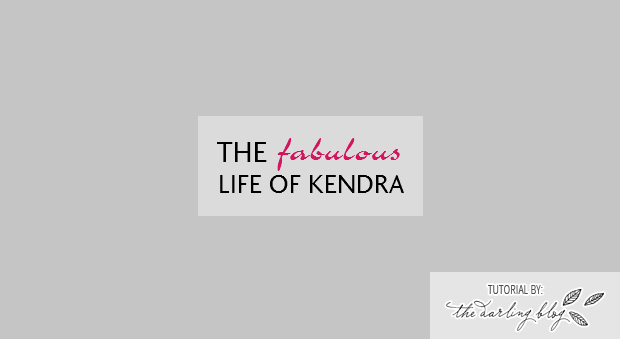
Whew! Now that we got all the specifics out of the way we can get to the good part.  In the top image, I added a new, transparent layer. This part isn't really necessary per se, but it's just something I always do... for whatever reason. Once you do (or don't do) that, you can select the Paint Bucket tool to add a background color for your button. To choose a color, click on the Set Main Color box. If you want to add a pattern or texture, you'll have to select Layer > Open image as layer and then find the background image you want to use. Unfortunately, the fonts you have downloaded on your computer don't show up here. You just have to use the ones provided by Pixlr but they do have some pretty good choices and they also have quite a few choices so surely you're able to find something suitable. Another thing worth mentioning is you will have to create a new text layer for each font, color, or size difference. For the image above, I had to use 3 different font layers: One for THE, one for FABULOUS and one for LIFE OF KENDRA. Just play around, have fun, and be creative as possible!

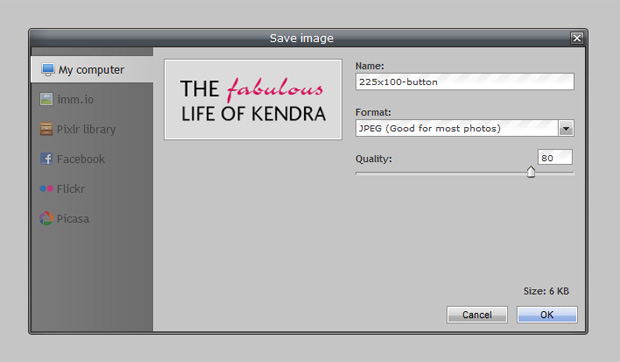
Once you get your button perfected, it's time to save. The cool thing about this is you can save it to your computer, your Flickr account, your Picasa account and more! Just select the location you'd like to save it to, choose the Quality (it defaults to 80 which should be fine for buttons) and click OK then Save. You've now created your button!

 
Pin It button on image hover